Making your own laundry soap can be a great way to save your family money while still getting your clothes wonderfully clean. We have used homemade laundry soap (this recipe) for about 2 years now. It works great! Even on my husbands inky, stinky work clothes and on my daughters cloth diapers and clothes, with no allergic reaction. And she has sensitive skin! So here goes...
Ingredients:
2 cups bar soap (Ivory-what we use, Fels Naptha, or Zote. You can't use just any soap. It has to be one of these as they are low-foaming)
2 cups borax (found in the laundry section of your local big box store)
2 cups washing soda (do not confuse this with baking soda, they are not the same thing. You can find this in the laundry section of many grocery stores or on-line)
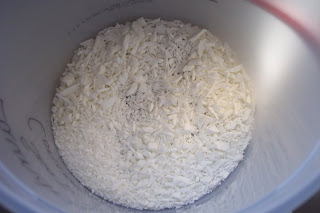
Step 1: Grate the soap. You can use a cheese grater or a knife and cutting board. Just make sure you shave it into very small pieces! This is the most difficult and longest process of the whole deal and it only takes about 10 minutes! :o) Place the soap shavings in a 1 gallon ice cream bucket. Mine happens to be 5 quart, doesn't really matter much. Place the bucket in your kitchen sink.
Step 2: On the stove, heat 1 quart of water to a rolling boil. Pour into the bucket with the soap shavings and stir with a whisk till all the soap is melted. If there are a few small pieces floating, it's alright, they will eventually dissolve.
Step 3: Add in the borax and washing soda. Again, stir with the whisk till they are totally dissolved. At this point, it will look like slightly thinned icing. Note the picture below of it dribbling off the whisk. Looks good enough to lick off the whisk, but by all means, restrain yourself from doing so! It will only bring back bad memories of the first time you back talked your Grandmother! :-P

Step 4: (And this is why we put it in the sink) add in cold water till your bucket is full. Stir lightly with your whisk. You will get some bubbles but try to keep them to a minimum.

Mmm. Frothy goodness.

Step 5: Put on the lid and allow to sit for at least 24 hours. After that 24 hours, stir well again with the whisk. Make sure you label well!

Step 6: Mark on the back of the bucket three lines of equal portions. I did this with a ruler.
To use: Stir well and dip out 1/3 of the mix. Pour into a 1 gallon container. You can use another ice cream bucket, a glass pickle jar or an old laundry soap container (this is that I use.) Add in another gallon or so of water, what ever it takes to fill up the container. Every time you use it, give it a little shake or stir.
Use 1/4 cup per regular load. For high efficiency washers you can use even less.
Like I stated before, this works great! And it is cheap too! Less than $2.00 for the pre-mix which makes three containers full once diluted. I would guess that at about 100 loads or so. You can also add some drops of essential oils.
Tea tree- natural antiseptic
Lavender- for smell
Or any other scents you like.
Enjoy!
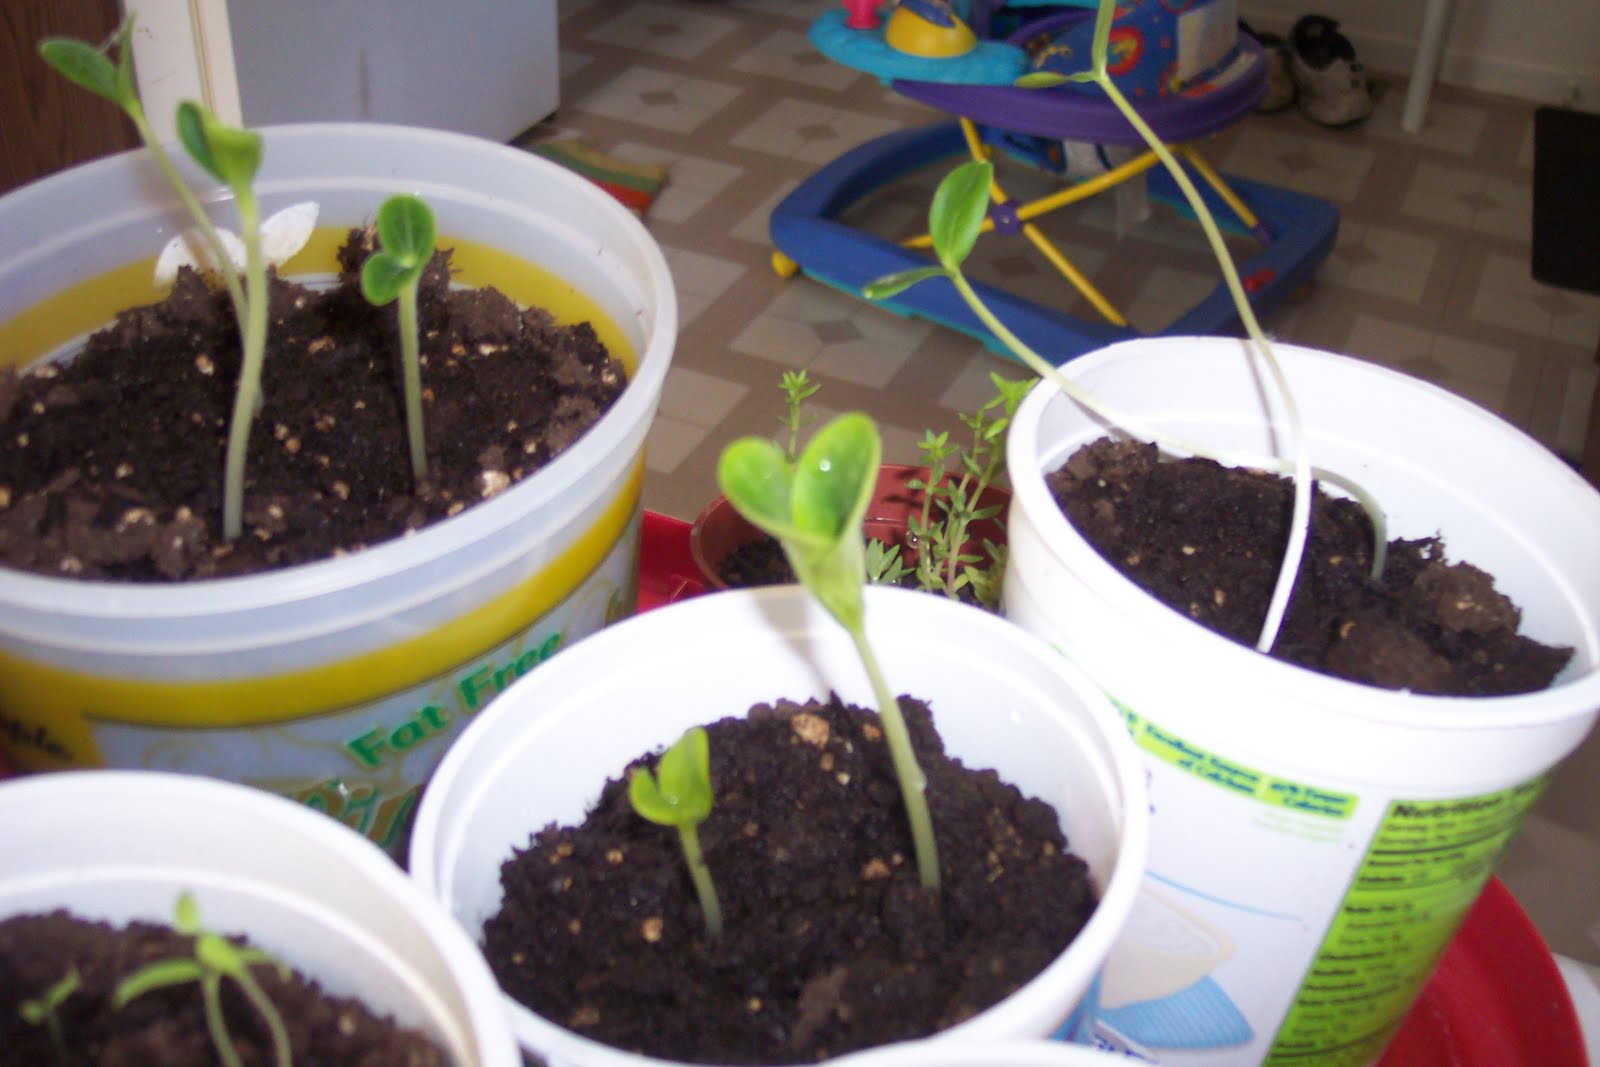 These are the squash. Top left are the yellow squash, middle are the zucchini and the upper left are the cucumbers.
 And here is a view of all of them. Bell peppers, cucumbers, yellow squash, zucchini, and three types of tomatoes (beef steak, Roma, and cherry.) All of these will be planted in plastic totes as we are renting and aren't allowed to plow up the back yard like the last place let us. :o) But I did a lot of research into container gardening when we lived in the city as we were planning to container garden on the balcony but then we found a new rental place with a yard before we had the chance to try it out. I am anxious to see how this goes! We are also planning to plant some large sun flowers along the back wall of the house to hopefully get seeds from. I've never done sunflowers before so we shall see.


